Reactional Demo: Musical Shooter
Click for video
This demo will showcase how you can incorporate Reactional Tracks into a game to create a musical shooter that is more engaging than your average rhythm game.
In this game, the guns fire locked to a musical interval. There are three guns; they fire at 1/4, 1/1 and 1/8. Enemies are made out of boxes in a 3x3x3 setup and hitting them with a bullet will either damage them or destroy them depending on weapon and enemy type. There are two enemy types.
First Steps
Before we begin, make sure you have Unity installed on your computer. Ideally you will be using 2022.2, however this demo will likely work well with any Unity version from 2020 and up. Download the demo project from https://app.reactionalmusic.com, and open it with Unity. The demo project will come with the Reactional Plugin already set up in a scene, as well as some demo songs to test with. Navigate to FPSDemo and open the FPSDemo scene.
How to Play
The game plays like similar to a First Person Shooter.
- HOLD mouse button to fire. A bullet will launch every beat.
- Kill the boxes.
- Move with WASD, Shift, Space.
- Press E to switch weapons.
- Walk into the “Next” sphere to switch track.
Demo components
The demo contains various scripts and behaviours that make up the musical shooter game. We will go through each of these in the following sections, but they include:
- Shooter.cs - Contains logic for the actual shooting
- GunStuff.cs - Gun specific settings
- BeatSpawner.cs - Spawns enemies
- BeatEnemy.cs - Controls enemy behaviour
- ReactionalSizePulse.cs - Simple implementation of pulsing on beat
- ReactionalPianoVisualizer.cs - Example of how you can use the note callback
Most, if not all of the relevant parts to the demo is located in, or as children of, the game object Reactional Beat Shooter.

Shooter Class
This is the Shooter script, which is responsible for handling shooting and gun switching. The script contains a list of guns, a reference to the active gun, and a reference to the gun root object. The script also contains a method for shooting bullets, which instantiates a bullet prefab and adds force to it. The Shoot method is called every frame and determines whether the gun should fire based on the current beat of the song. Finally, the SwitchGuns method handles switching between guns.
private void Update()
    {
        float currentBeat = Reactional.Playback.MusicSystem.GetCurrentBeat();

        if (_input.shoot)
            Shoot(currentBeat);
private void Shoot(float currentBeat)
    {

        nextBeat = Reactional.Playback.MusicSystem.GetNextBeat(gunStuff.fireRate);

        if (nextBeat < (currentBeat + 0.125f) && prevquant != nextBeat)
        {
            prevquant = nextBeat;
            ShootBullet(gunStuff.bullet, gunStuff.bulletSpeed, gunStuff.firePoint, currentBeat, nextBeat);
        }

    }
We are using two important function calls here: GetCurrentBeat() which returns the current beat of the Reactional system, as well as GetNextBeat(quantVariable) which return the next multiple of a quantized value.
If current beat is 5, GetNextBeat(4) will return beat 8!
In our game each gun has its own fireRate, which makes them shot in different rhythms.
In the case above we check if currentBeat + an offset is more than the nextBeat and if so trigger another shot. There are of course many other ways to do this. It is however important that we shoot ever so slightly before beat, so that we can hit something and schedule a musical stinger ON beat
public void ShootBullet(GameObject bulletPrefab, float bulletSpeed, Transform bulletSpawnPoint, float currentBeat, float nextbeat)
    {

        // Play audio
        float time = (nextbeat - currentBeat) * (60f / Reactional.Playback.MusicSystem.GetTempoBpm());

        gunStuff.audioSource.PlayScheduled(AudioSettings.dspTime + time);
In the ShootBullet method we do several things, but let’s focus on the gun sound for now. It is a simple sound effect, and while not musical in itself, in our context it has a rhythmic component whether we like it or not.
This code calculates the time at which a gunshot sound effect should be played in order to align with the beat of the music. In the ShootBullet method, currentBeat represents the current beat of the music, and nextbeat represents the next beat at which the gun should fire. The formula (nextbeat - currentBeat) calculates the time until the next beat, and (60f / Reactional.Playback.MusicSystem.GetTempoBpm()) calculates the duration of one beat in seconds. By multiplying these two values together, we get the time until the next beat in seconds. Finally, we add this value to AudioSettings.dspTime, which represents the current audio time in seconds, to schedule the gunshot sound effect to be played at the appropriate time.
Beat Spawner
The spawner is pretty basic in nature. If current beat is larger than the “next beat”, spawn an enemy and check where the next “next beat” occurs. This way we can spawn enemies in time to the music.
We also have a safety check for if current beat becomes smaller than the beat before. This might happen if the musical clock resets, for instance when changing tracks.
private void Update()
    {
        beat = Reactional.Playback.MusicSystem.GetCurrentBeat();

        if (beat >= nextBeat)
        {
            prevbeat = nextBeat;
            SpawnEnemy();
            nextBeat = Reactional.Playback.MusicSystem.GetNextBeat(spawnInterval);
        }

        if (beat < prevbeat)
        {
            nextBeat = Reactional.Playback.MusicSystem.GetNextBeat(spawnInterval);
            prevbeat = 0;
        }
    }
Beat Enemy - Stingers!
The enemies are also moving in time with the music. There are two kinds of enemies in this demo, one that is “static” and moves from spawnpoint, to the player location at spawnpoint, over X beats. The second one is “homing” and will move from spawnpoint to the player over X beats. Theses enemies are procedurally created from boxes.
private void Update()
    {
        // Calculate progress based on the current beat and the start beat
        float progress = (Reactional.Playback.MusicSystem.GetCurrentBeat() - startBeat) / (8/speed);

        if (homing) {
            // Interpolate position between start position and player position based on progress
            transform.position = Vector3.Lerp(startPosition, player.transform.position, progress);
            // rotate the gameobject
            transform.RotateAround(transform.position, transform.up, 360 * Time.deltaTime);
        }
        else {
            transform.position = Vector3.Lerp(startPosition, endPosition, progress);
        }

            // Check if the enemy has reached the player
        float distanceToPlayer = Vector3.Distance(transform.position, player.transform.position);
        if (distanceToPlayer < 1.0f || progress < 0f) // Change this value as needed
        {
            Destroy(gameObject);
        }

        if (dead){
            // scale down over 2 seconds
            transform.localScale = Vector3.Lerp(transform.localScale, Vector3.zero, Time.deltaTime * 2);
        }
    }
Whenever an enemy is hit, the Damage method is called. If the enemy has health left, a “small” stinger will be triggered.
		public void Damage(int damage)
    {
			...
			Reactional.Playback.Theme.TriggerStinger("small", 0.125f);
			or
		  Reactional.Playback.Theme.SetControl("small", 0.125f);
			...
    }
As you can see you are free to use either TriggerStinger, or SetControl. The main difference being that the first can be supplied without a value and trigger at the preset quant value in the theme. But you are free to supply a quant value of choice. In the above it’s 1/8 = 0.125f
The SetControl function is otherwise mostly used for controlling macro parameters such as Energy or Danger etc. that affects many facets of the music, where the value is a real value and not a quantization.
Regardless, since the gun is fired ever so slightly before beat and we schedule this stinger on the next beat, it will play back on the beat. Similarly, we trigger other stingers when the enemies are killed, depending on type.
public void Death()
    {
        ...
        if(homing)
            Reactional.Playback.Theme.SetControl("medium", 0.125f);
        else
            Reactional.Playback.Theme.SetControl("big", 0.125f);
Gun Stuff - Color change
The musical shooting logic is all handled by the script above, and the GunStuff.cs mainly only serve as to hold gun specific settings for each weapon. However we do utilise the musical clock to add a bit of extra flair to our guns.
		void Update()
    {
				// We cycle the emission intensity of the material between 0 and 1 based on the current beat / fire rate
        float intensity = Reactional.Playback.MusicSystem.GetCurrentBeat() % fireRate;
        ChangeEmissionIntensityOfMaterial(GetComponent<Renderer>().material, 1f-(intensity%1));
    }

    void ChangeEmissionIntensityOfMaterial(Material mat, float intensity)
    {
        // get the current emission color
        Color emissionColor = mat.GetColor("_EmissionColor");

        emissionColor.g = intensity/4f;
        emissionColor.b = intensity/4f;
        mat.SetColor("_EmissionColor", emissionColor);
    }
This code changes the intensity of a material’s emission color based on the current beat of the music and the fire rate of the gun. The Update method is called every frame and cycles the emission intensity of the material between 0 and 1 using the ChangeEmissionIntensityOfMaterial method. The method takes two arguments: a material and a float value between 0 and 1 which represents the intensity of the emission color.
In the ChangeEmissionIntensityOfMaterial method, the current emission color of the material is retrieved and stored in a variable called emissionColor. The green and blue values of the emission color are then set to the input intensity value divided by 4. Finally, the new emission color is set on the material using mat.SetColor(“_EmissionColor”, emissionColor).
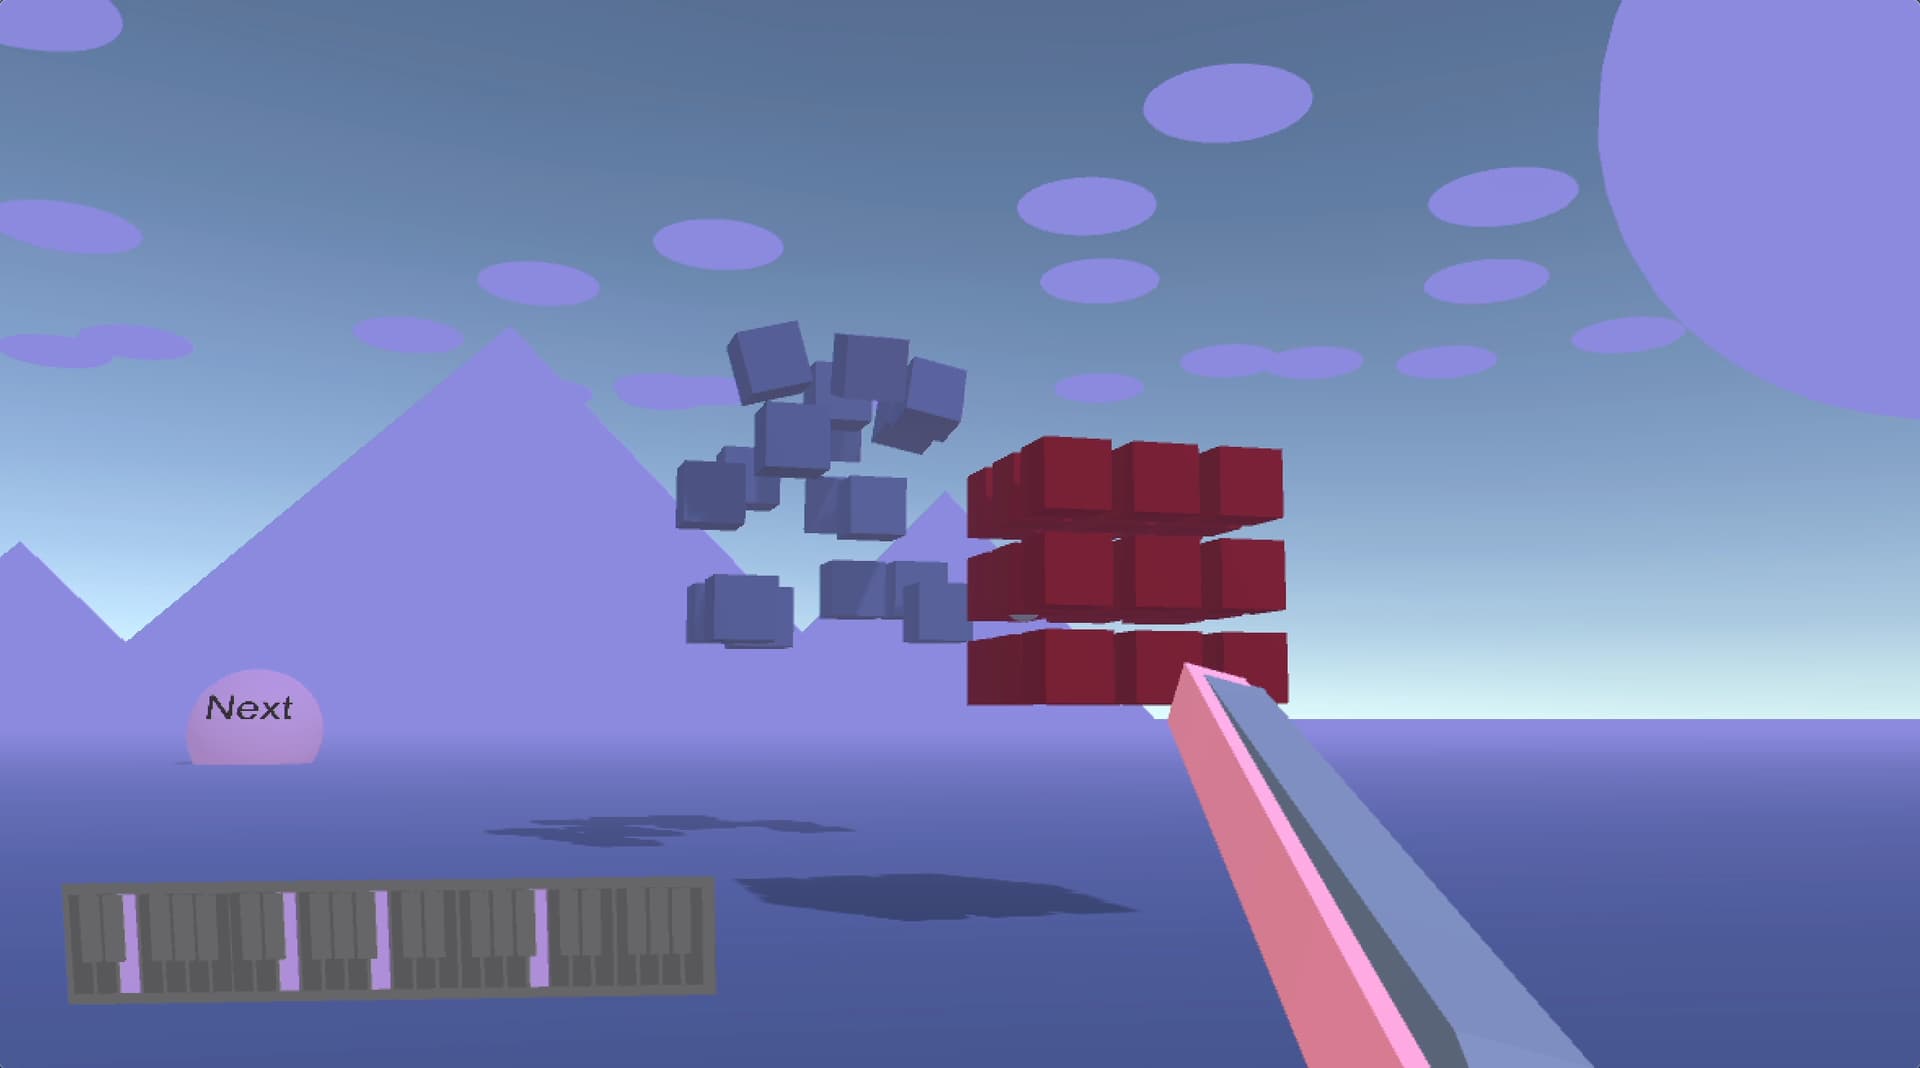
Pulsing to the Beat
You might notice that the mountains in the background, the sun, and the “Next” button is pulsing to the music. In order to create this effect, we once again check against the clock and it’s current beat. In this case ReactionalSizePulse.cs has an animationcurve that is executed on each frame, based on the current beat, and that is then used to control the localScale of the gameobject in question. Some extra goodies in there makes sure that this is only executed if the player is within a certain CullDistance, and the effect scales up accordingly based on proximity.
				var currBeat = Reactional.Playback.MusicSystem.GetCurrentBeat() * beatMultiplier;
        ...
        float animationValue = _animationCurve.Evaluate((currBeat + _prelayAnimationBy) % 1f);
        float scaleFactor = 1 + ((animationValue - 1f) * Mathf.InverseLerp(CullDistance, 0, dist));

        if (pulseParent)
            transform.parent.localScale = _originalScale * scaleFactor;
        else
            transform.localScale = _originalScale * scaleFactor;
Note Callbacks
The Reactional system can give you callbacks for anything happening in the music system. At this time Note callbacks are those mainly exposed. In the script ReactionalPianoVisualizer.cs we are pulsing a note on a keyboard anytime said note appears in the callback.
	  private void OnEnable()
    {
        if (reactional == null)
            reactional = FindObjectOfType<ReactionalEngine>();
        reactional.onNoteOn += RouteNoteOn;
        reactional.onNoteOff += RouteNoteOff;
    }

    private void OnDisable()
    {
        reactional.onNoteOn -= RouteNoteOn;
        reactional.onNoteOff -= RouteNoteOff;
    }

    private void RouteNoteOn(double beat, int sink, int lane, float pitch, float velocity)
    {
        if (velocity < 0.1f)
            return;
        var key = (int)pitch - offset;
        var instrument = sink;
	      ...
        StartCoroutine(Pulse(key, instrument));
    }
The callback gives us information on the notes beat, origin, destination, pitch and velocity, which you can use to control whatever you feel like.
Next Track
In the demo is also a pulsing sphere with the word “Next”. Walking into this will automatically switch to the next track using the code below.
public class PlaylistControl : MonoBehaviour
{
    public bool next;
    public void NextTrack()
    {
        Reactional.Playback.Playlist.Next();
    }

    public void PreviousTrack()
    {
        Reactional.Playback.Playlist.Prev();
    }

    private void OnTriggerEnter(Collider other) {

        if (other.CompareTag("Player"))
        {
            if (next)
            {
                NextTrack();
            }
            else
            {
                PreviousTrack();
            }
        }
    }
}
Next Steps
Now that you have understood how this project was made and set up, you might want to test with a Reactional bundle of your own. To do this, simply download your bundle from the web interface and replace the project folder residing in StreamingAssets/Reactional with this new one.
As long as the Theme included contains stingers called “big”, “medium” or “small” it should work right out of the box. Otherwise you would need to change these names in the BeatEnemy script.